DIY vs. Professional Golf Simulator Installation
You’ve decided you want a golf simulator. Year-round play, practice whenever you want, no tee times, no weather delays — it’s one of the most satisfying investments a golfer can make in their home. So you start researching, and you quickly find two paths: buy the components yourself and set it up over a weekend, or hire a professional integrator to handle everything.
The DIY option looks appealing at first. The equipment is the same either way, right? How hard can the setup be?
Quite hard, as it turns out. And the risks of getting it wrong — from inaccurate shot data to voided warranties to a system that doesn’t hold up — are real, costly, and frequently underestimated. Here’s an honest look at what separates a professionally installed simulator from a DIY setup, and why the difference matters more than most buyers realize.
The Real Cost of "Saving" on Installation
The most common reason golfers choose DIY is cost. Professional installation adds to the budget, and when you’re already spending several thousand dollars on a launch monitor, screen, projector, and hitting mat, it’s tempting to cut corners on the install itself.
But the math rarely works out the way buyers expect. Consider what can go wrong:
- Projector placement is off by a few degrees, creating a distorted image that can’t be fixed without remounting — requiring a second trip to the hardware store and hours of rework.
- The hitting mat isn’t level, causing subtle inconsistencies in swing data that make practice sessions less useful and frustrating.
- Screen tension is uneven, leading to rippling that distorts the visualization of ball flight.
- Wiring is run in a way that looks fine now, but creates problems during any future room modification.
- The launch monitor is positioned incorrectly relative to the hitting zone, generating inaccurate club and ball data.
Every one of these issues requires either starting over or hiring a professional to fix what the DIY setup got wrong — often at a higher cost than simply hiring a pro from the start.

| 💡 Key insight:
A professional installation typically adds 15–25% to the total project cost. A DIY install that requires professional correction afterward often ends up costing 30–40% more than a pro install would have — plus the frustration of a simulator that didn’t perform as expected in the interim. |
Calibration: The Make-or-Break Factor
This is the most technically consequential difference between DIY and professional installation, and the one buyers are most likely to underestimate.
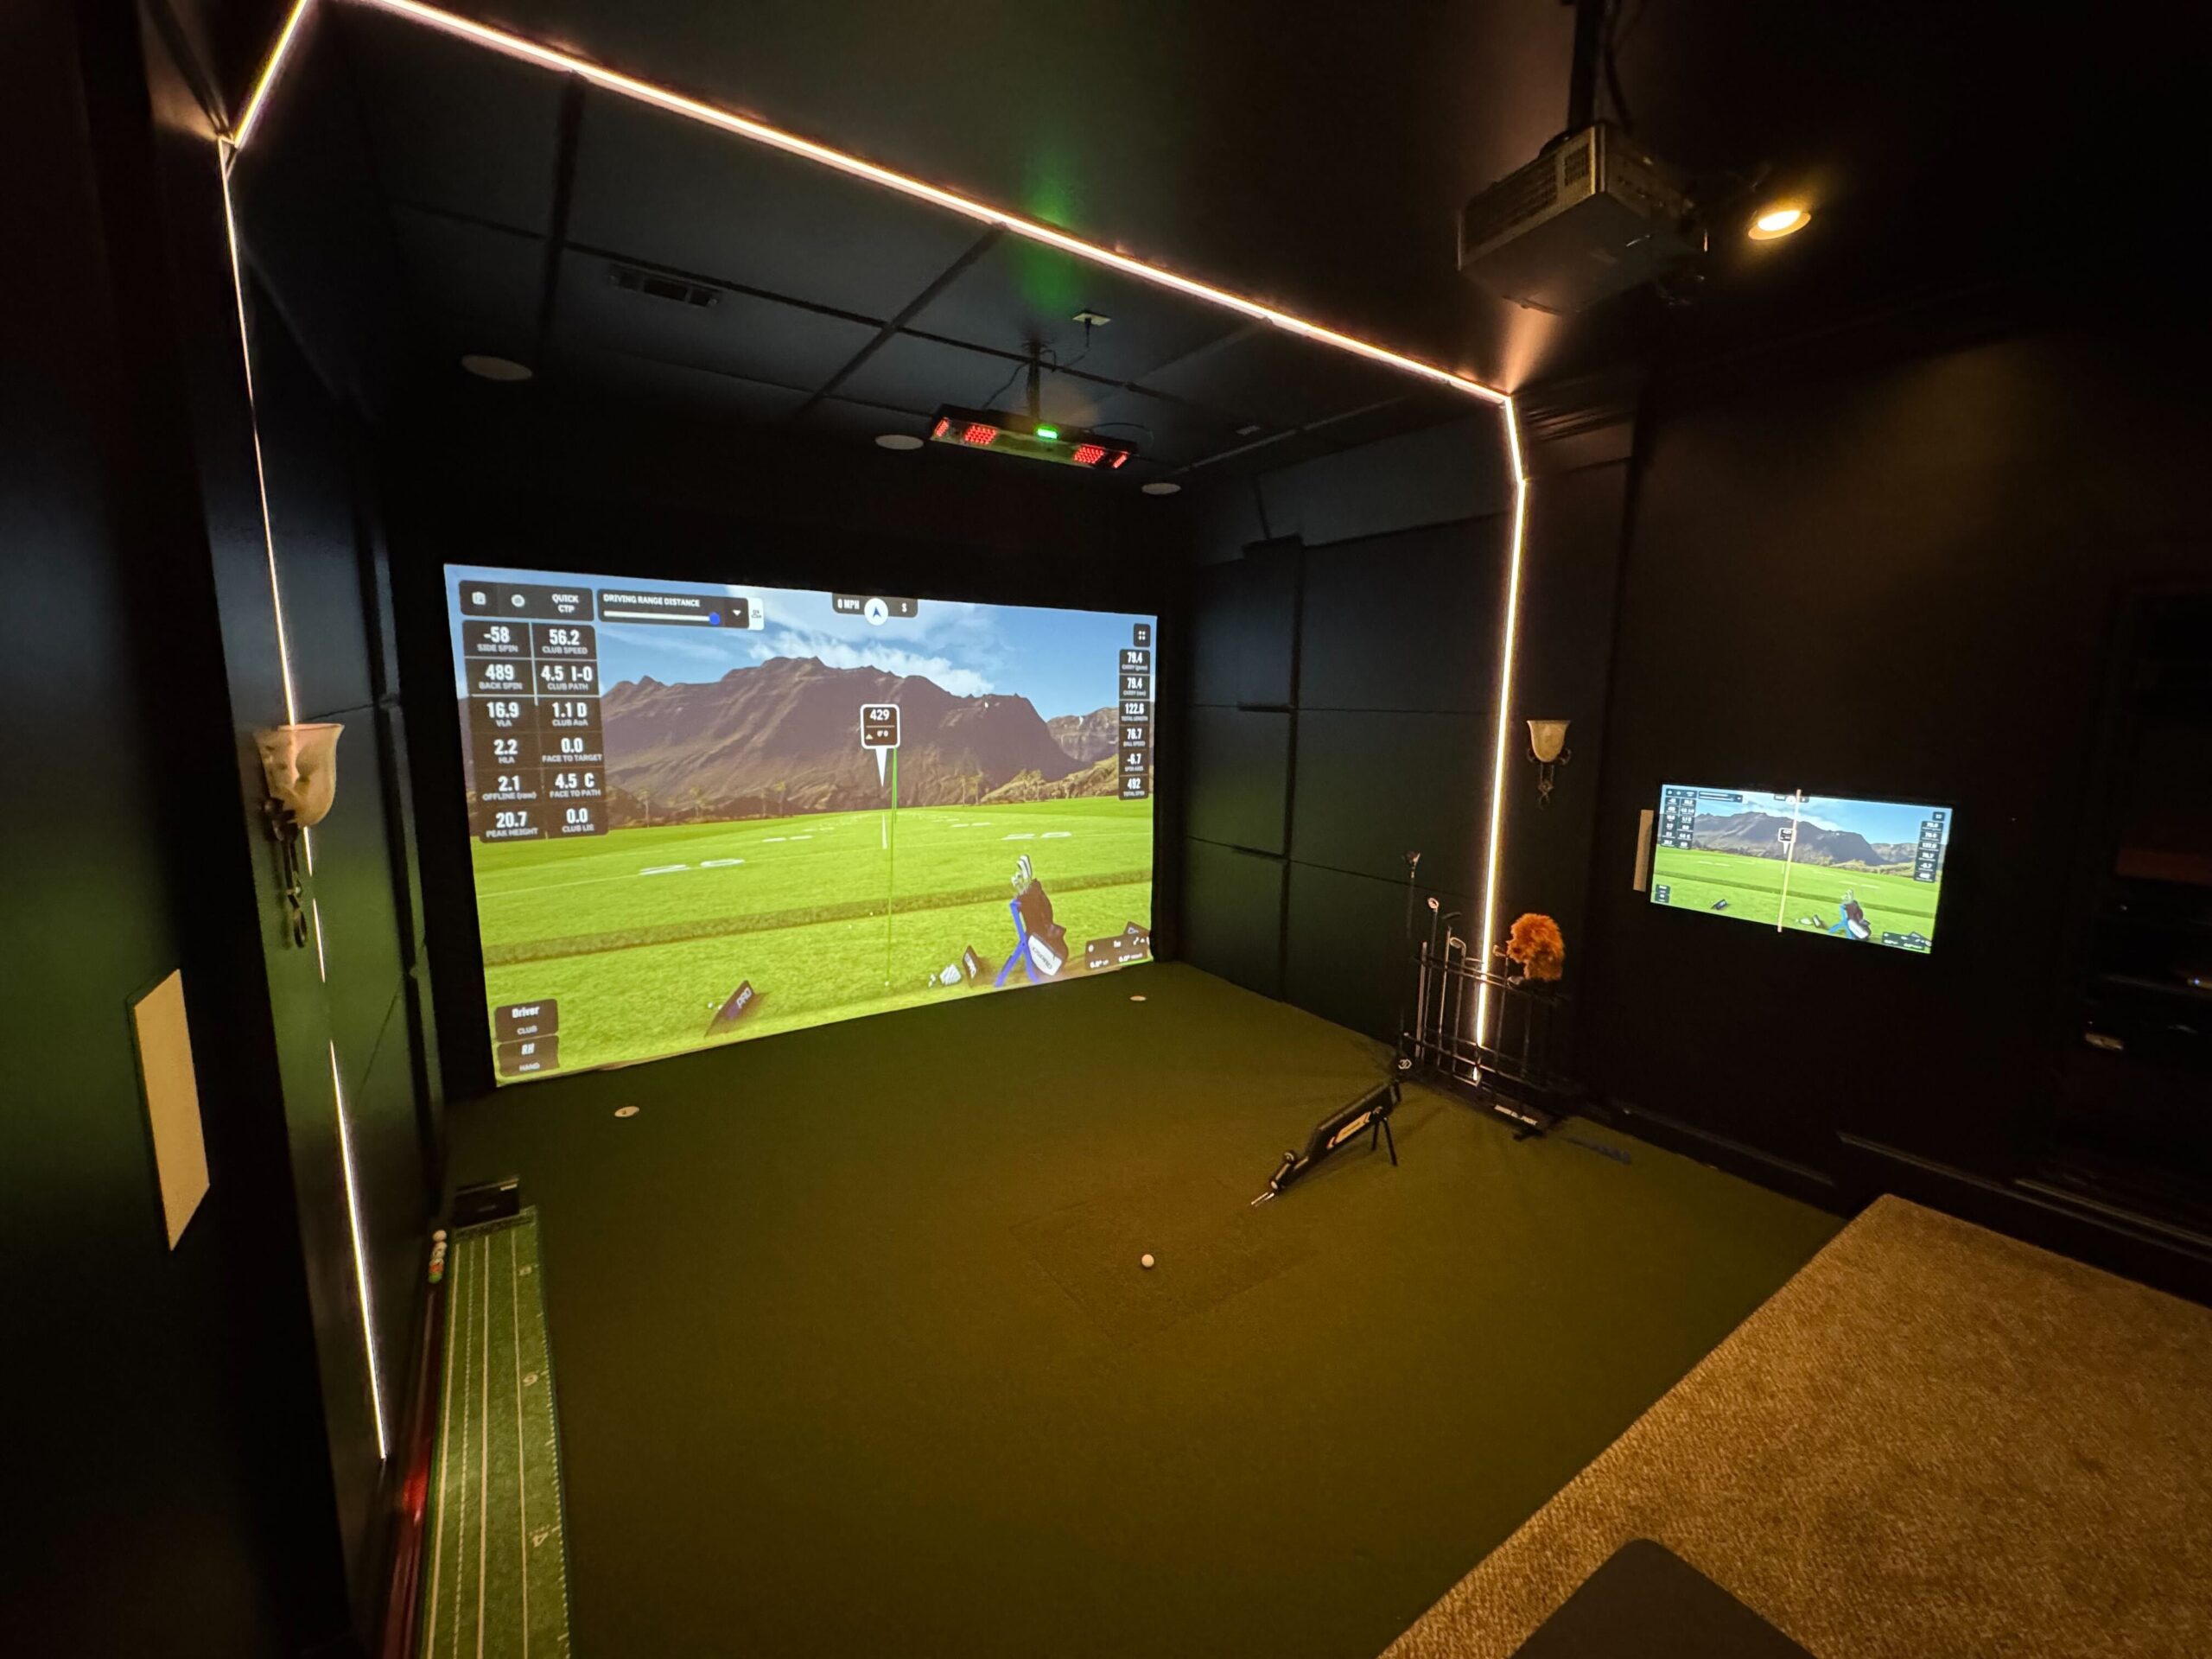
Modern golf simulators — whether you’re using a Trackman, Foresight GCQuad, Uneekor, or Garmin — are precision measurement instruments. They use radar, camera arrays, or infrared sensors to capture dozens of data points about every shot: ball speed, launch angle, spin rate, club path, face angle, and more. That data is only as good as the calibration behind it.
Calibration requires:
- The launch monitor positioned at an exact height and distance from the hitting zone, specific to the model and sensor type.
- The projector aligned precisely with the screen — both horizontally and vertically — to ensure accurate ball landing zones.
- The screen positioned at the correct distance from the hitting position to match the simulator software’s assumptions.
- Camera-based systems require controlled lighting conditions and calibration targets set up correctly.
- Software configuration specific to the room dimensions, which affects how ball flight is rendered and how shot distance is calculated.
Professional integrators have done this dozens or hundreds of times. They know the tolerances specific to each system, the common mistakes, and how to verify the calibration is correct before they leave. Most DIY installers have done it once.
The result of a poorly calibrated simulator isn’t just cosmetic. You’ll be practicing with inaccurate shot data — building muscle memory around numbers that don’t reflect reality. That’s arguably worse than not practicing at all.
Warranty: The Fine Print That Catches DIY Buyers
Most premium golf simulator hardware carries a manufacturer’s warranty — but that warranty often comes with conditions. One of the most common: the system must be installed according to the manufacturer’s specifications.
When a professional integrator installs your system, they follow those specifications precisely, and they can document that they did. If something goes wrong with the hardware within the warranty period, you’re covered.
When you install it yourself, you’re taking on the risk that your setup deviated from spec — even unintentionally. If the projector bulb fails prematurely due to incorrect ventilation spacing, or if a sensor malfunctions because of improper mounting angle, the manufacturer has grounds to deny your claim.
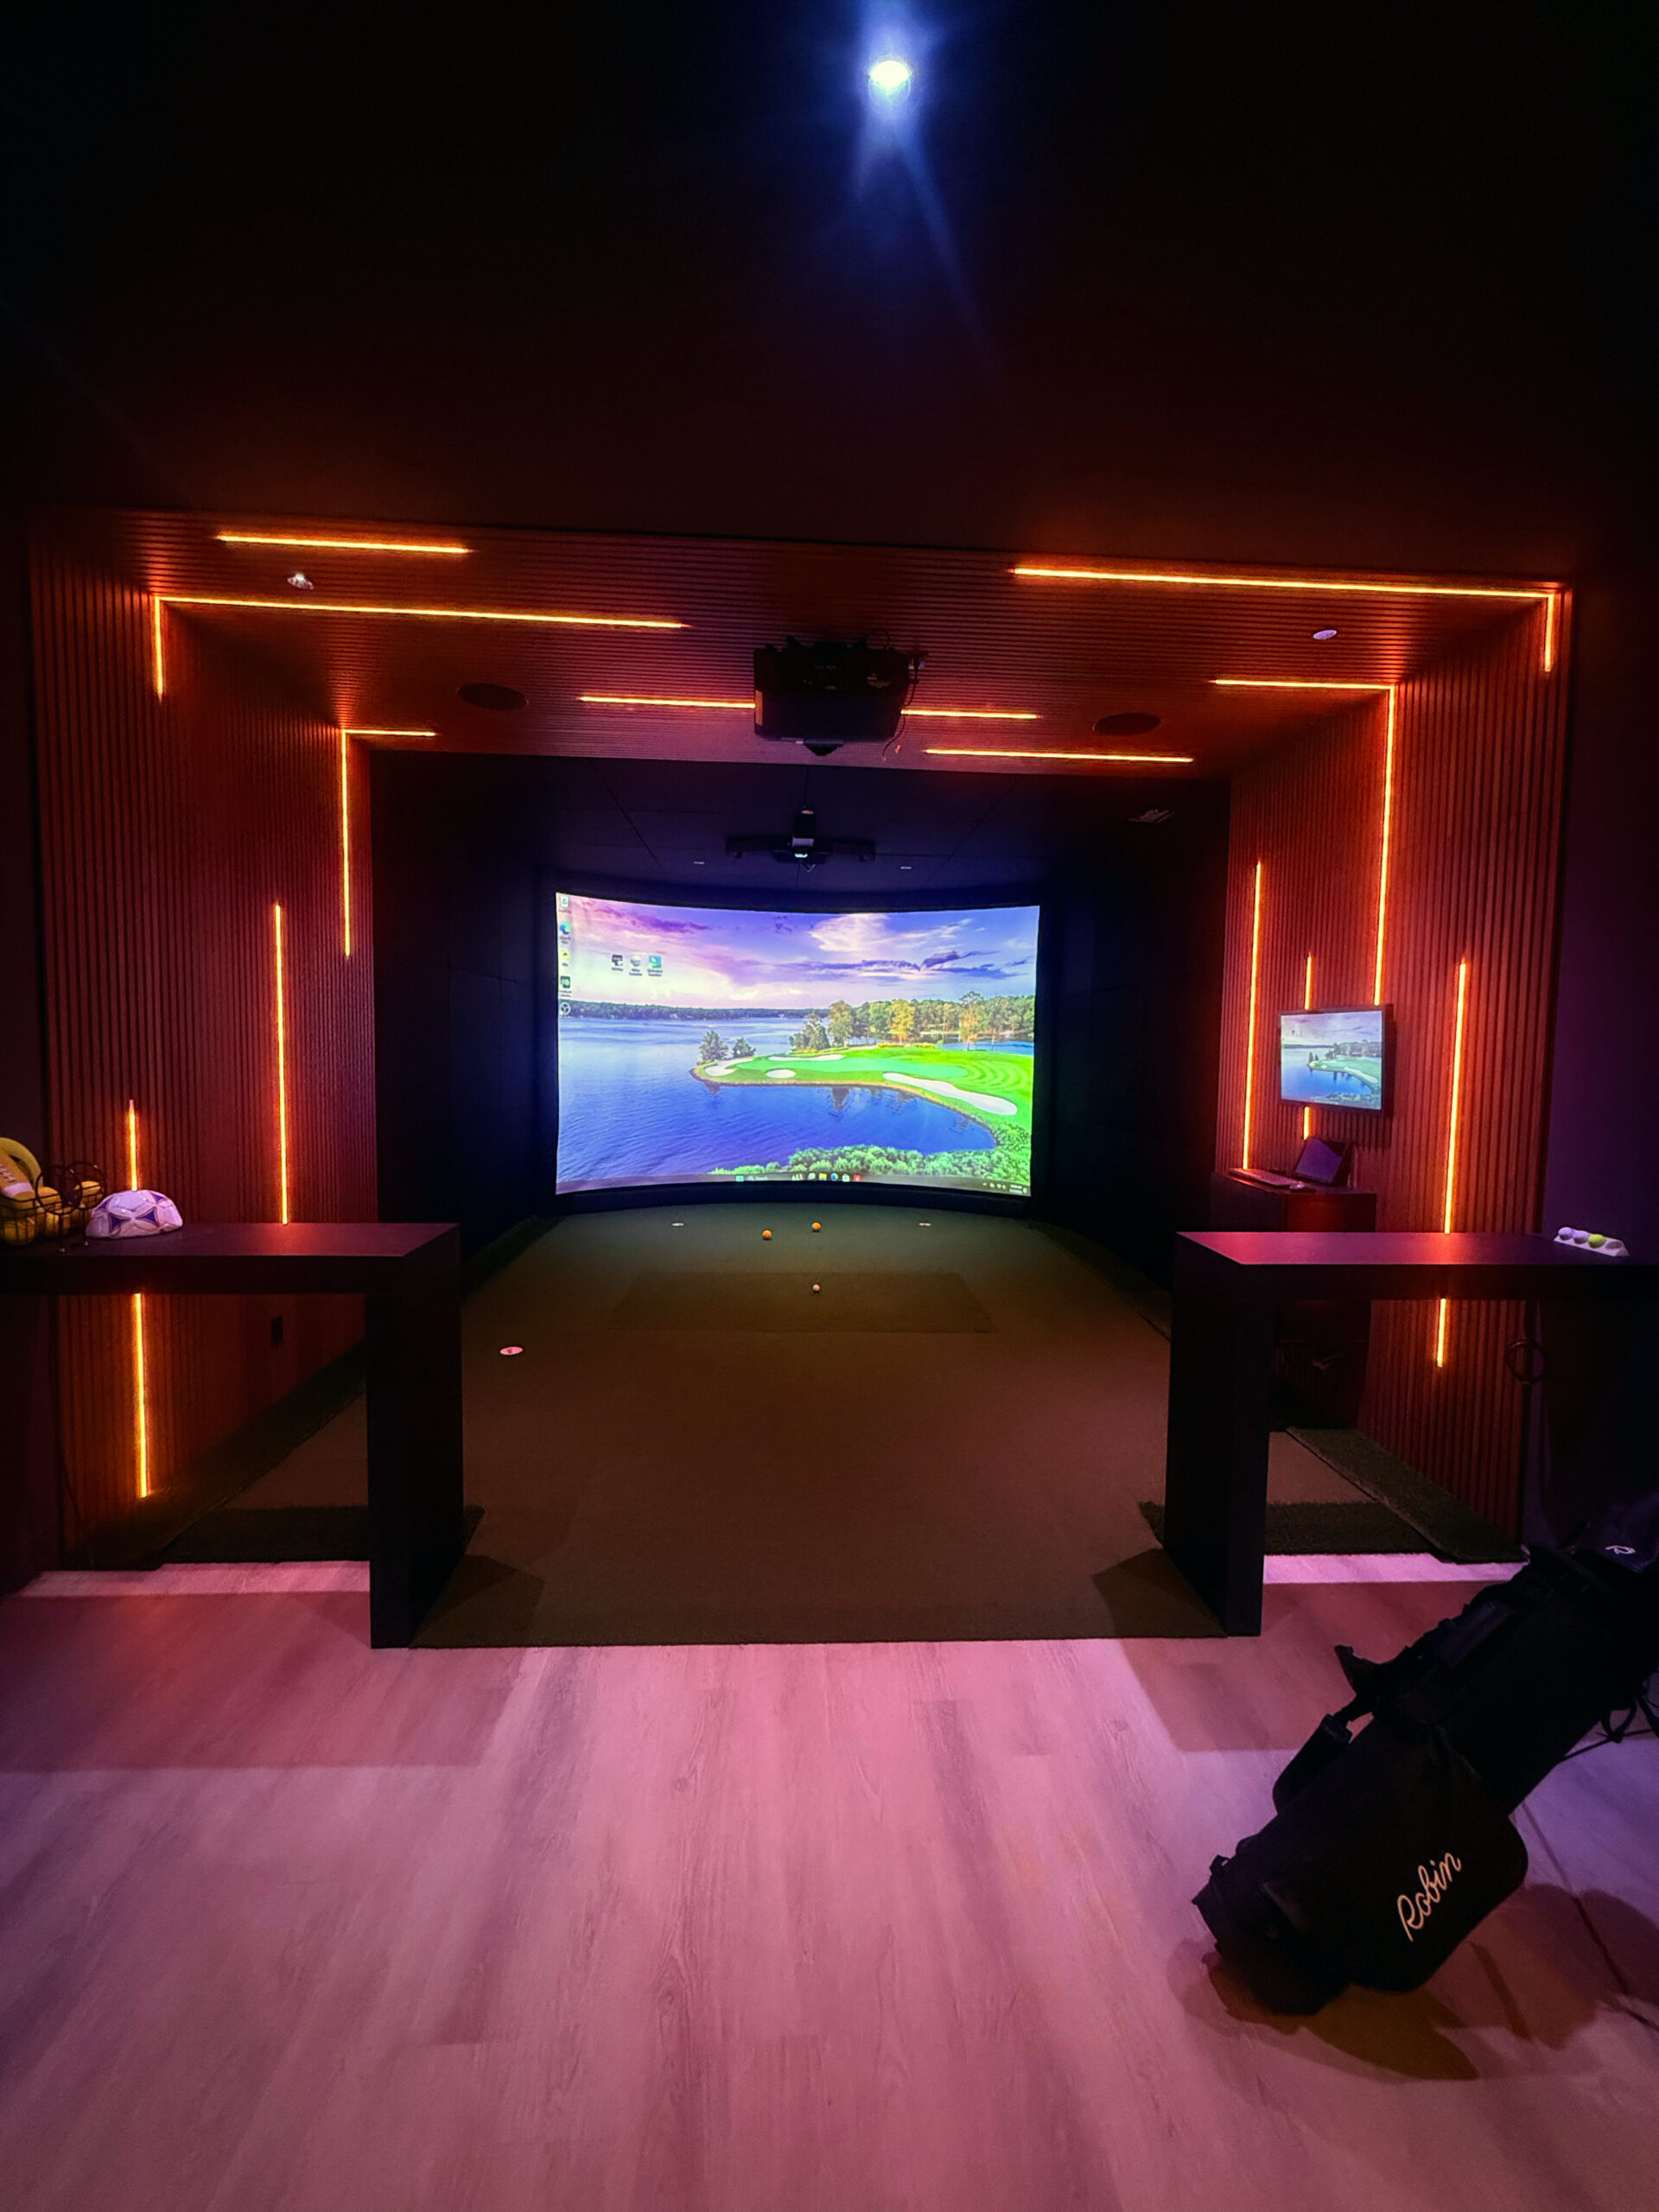
The Smart Home Integration Advantage
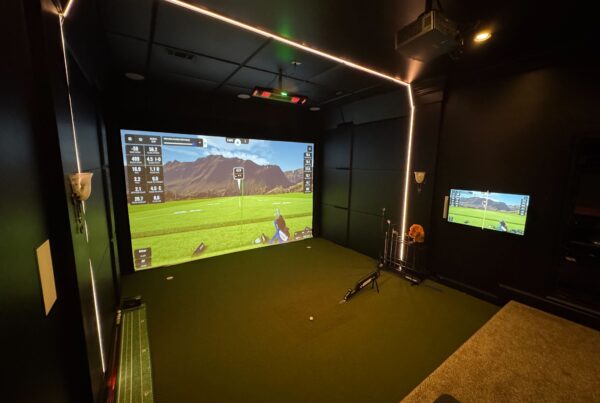
A golf simulator room doesn’t have to be a standalone box in your basement. For homeowners who already have — or are investing in — a smart home automation system, the simulator can become a seamlessly integrated part of the home experience.
With professional integration through platforms like Control4, your simulator room can include:
- One-touch scene activation: lights dim, shades close, projector powers on, and the simulator launches — all from a single button or voice command.
- Acoustic optimization tied to your audio system, so the room sounds as good as it looks.
- Whole-home audio integration, so music plays throughout the house when the simulator is in use.
- Climate control integration to keep the room at the right temperature during long sessions.
- Security and access integration, so you know when the room is in use from anywhere.
None of this is possible with a DIY setup. And for buyers investing in a luxury simulator — where the total project often runs $20,000–$80,000+ — this kind of seamless integration is the difference between a great room and an extraordinary one.
DIY vs. Professional: Side-by-Side Comparison

| Category | DIY Setup | Professional Installation |
|---|---|---|
| Calibration Accuracy | Manual, often imprecise | ✓ Factory-level calibration |
| Warranty Protection | May void manufacturer warranty | ✓ Full warranty preserved |
| Installation Time | 2–3 days (or more) | ✓ 1 day, done right |
| Smart Home Integration | None or limited | ✓ Full Control4/automation tie-in |
| Ongoing Support | Forums & YouTube | ✓ Dedicated service plans |
| Hidden Costs | High (re-installs, repairs) | ✓ Predictable, transparent pricing |
| Room Optimization | Guesswork | ✓ Expert acoustic & layout design |
What the Installation Process Actually Looks Like
One reason DIY seems approachable is that simulator manufacturers publish installation guides, and online forums are full of people who’ve done it. But those guides are written assuming ideal conditions, standard room dimensions, and a level of technical comfort that not every buyer has. A professional installation with Innovative Sims looks like this:
1. Pre-Installation Consultation
We visit your space — or review plans for new construction — and assess ceiling height, wall materials, lighting, electrical capacity, and any structural considerations. We discuss your goals, preferred software, and how the room might integrate with your existing home technology.
2. Design & Equipment Selection
Based on your space and budget, we recommend the right launch monitor, screen size, projector, and software combination. We design the layout for optimal performance — not just what fits, but what performs.
3. Professional Installation
Our certified technicians handle everything: mounting, wiring, calibration, and software configuration. Before we’re done, we verify calibration against manufacturer specifications, test the system across multiple shots and club types, and confirm everything is performing accurately.
4. Training & Ongoing Support
We walk you through the system so you’re comfortable using every feature. And because we offer dedicated service plans, you have a direct line to our team if anything ever needs attention — not a manufacturer support queue.
The Question to Ask
Golf simulator installations aren’t like assembling furniture. They’re precision projects that require technical knowledge, calibration experience, and — if you want full smart home integration — expertise in automation platforms that take years to master.
The question isn’t really “can I do this myself?” The question is “what is a frustrating, inaccurate, or broken simulator worth to me?”
For most buyers who are serious about their game and serious about their home, the answer is: not much. The cost of professional installation is a small fraction of the total project — and the value it protects is significant.
Ready to Design Your Golf Simulator Room?
Innovative Sims has designed and installed hundreds of custom simulator spaces across Atlanta, Birmingham, Nashville, Charleston, Tampa, and 30A/Destin. Our team handles everything — from room planning and equipment selection to calibration and smart home integration. Connect with our team today to begin your golf simulator project.